Hey Everyone
I'm Kelly Ballard
Raised in California and transplanted to Utah. Married my college sweetheart from Montana, and we are raising 4 nuggets together. I love all things DIY projects and doing them on a budget. I don’t mind messing up and am ok with the 90/10 rule - nothing is perfect over here and it’s fine by me! Encouraging all ‘wanna-be’ DIYers to just get out there and try it! You will be so glad you did.”
Categories
do it yourself
home Decor
family
Shopping
find me on
@citygirlmeetsfarmboy
How to protect your kitchen cabinets from water damage
Sponsored post in collaboration with Zircon
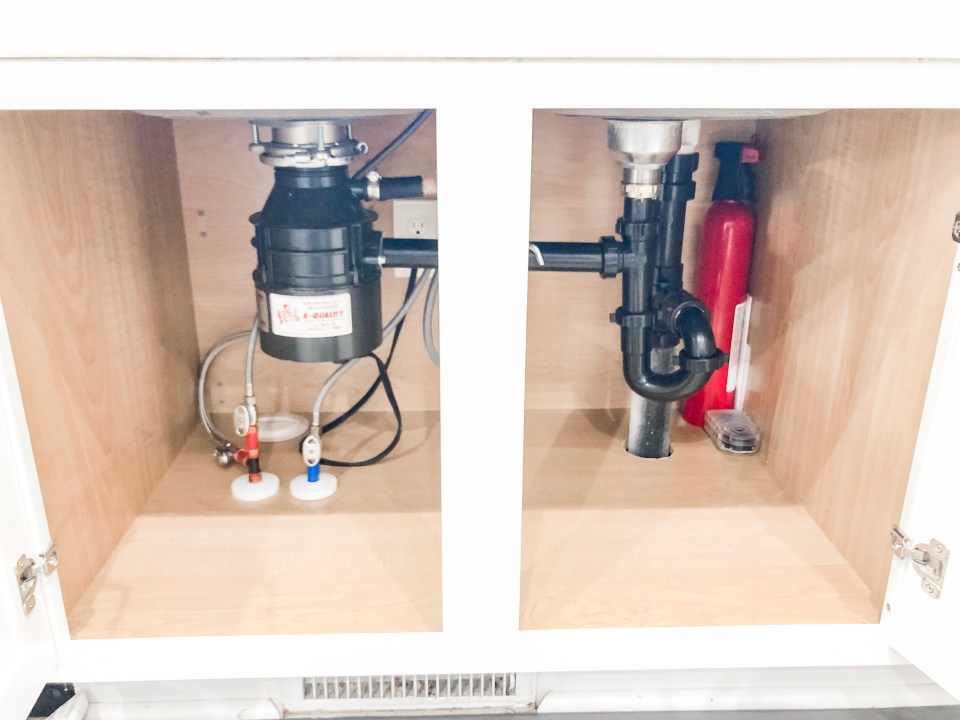
Have your pipes ever leaked and you didn’t find out until after all the damage was done? This recently happened to us and my flooring warped because I didn’t catch it in time. After we fixed the kitchen sink pipe, I knew I needed to find something that would alert me if this ever happened again.
And guys – I found the perfect thing! Zircon has been a favorite of mine for many years because of their stud finders. But I had no idea they created the coolest tool for my problem – The Zircon Leak Alert WiFi Smart Water Detector. I was so excited and you can buy this from The Home Depot for a great price.
What makes this device stand-out for me is that there’s no wiring, no hub necessary, and it works great with my home Wi-Fi network. What could be simpler?

Once my Leak Alert WiFi arrived, I wanted to see how easy it was to install. Turns out it was super simple, so let me walk you through the process. Here we go!
Step One – Buy Now
You can snag this right now from The Home Depot.
Step Two – Open Package
The how-to directions are literally the step-by-step version of this blog post. Follow them and you can’t go wrong!
Step Three – Reset
Open up the detector and make sure the included battery is in place. Press the WAKE/Reset button. The Leak Alert WiFi will walk you through how to reset it so the
light is blinking red.

Step Four – Connect to Wi-Fi
You will need a phone or laptop/computer to connect to your Wi-Fi setting. On your phone or computer, open up your Settings and you will see “LeakAlert” appear as a Wi-Fi connection. Click this. On your detector, one light will blink and one will stay stationary. You will be directed to an IP address in the directions. Type it into your
phone or computer and this screen will pull up:


Select your language and your router. Then push the right arrow after each of these
screens. Then, on the next screen, label the location you will be placing the Leak Alert WiFi. This helps you track which area of your home has a water leak when it alerts you.

Finally, add your name and email. Once this is completed, an email is sent to let you know that you are now connected and this part is complete!

Step Five – Install
Once the Leak Alert WiFi is configured and completely set up, the lights will stop blinking. Place it with the metal sensing contacts touching the surface area you want to protect and you are done!

I am so grateful for the new Leak Alert WiFi and feel so much better that if a leak were to occur again, I’d be immediately alerted. Remember to check out The Home Depot to get your device today. Thank you, Zircon! #zirconmade

Leave a ReplyCancel reply
Join Me
sign up here to get my best DIY Tutorials straight to your inbox!
A Home Decor & DIY Blog
copyright 2020 Kelly Ballard
designed by Gillian Sarah
earnings disclaimer
follow me on
@citygirlmeetsfarmboy


